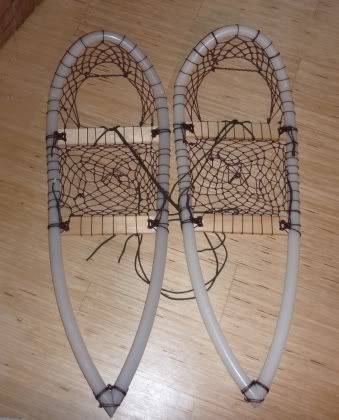
昨年末に完成させたマキリ・プーッコ、どうしても気に入らないのでチョット手を加えてみた。
There was something I did not quite like about the puukko I made, so have made bit of modification.
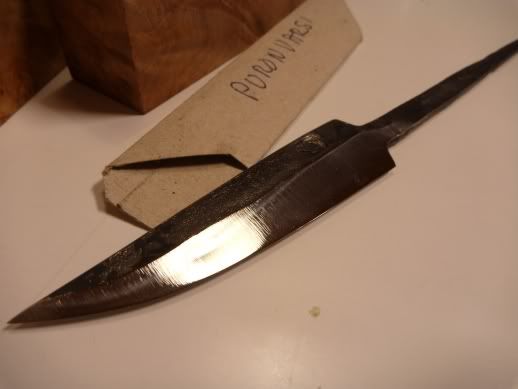
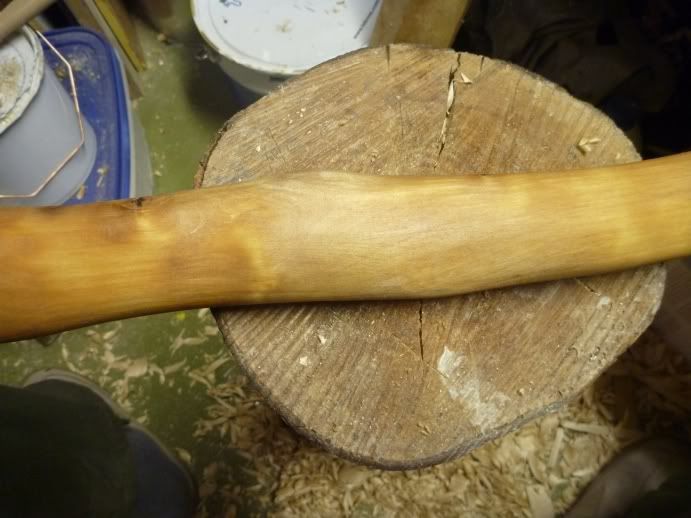
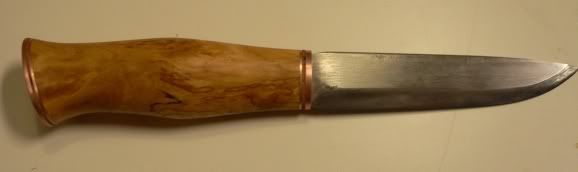
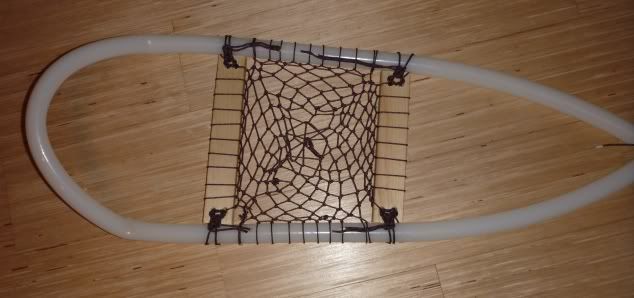
変更前・Before
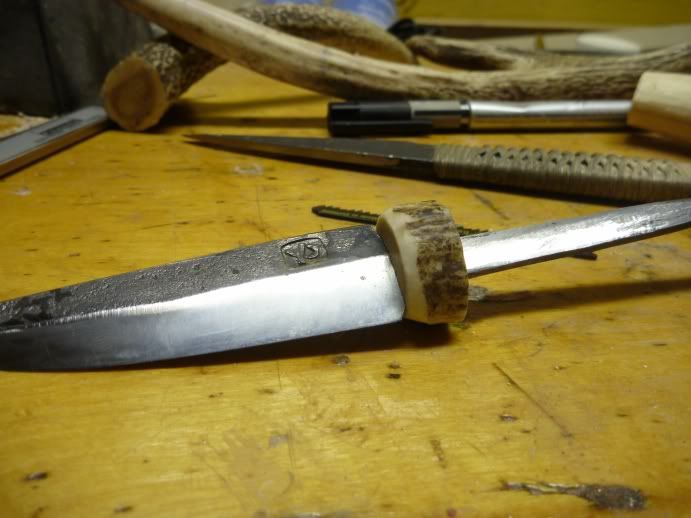
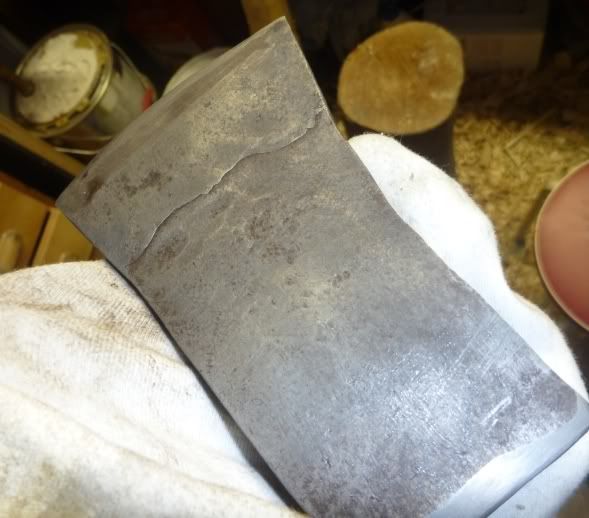
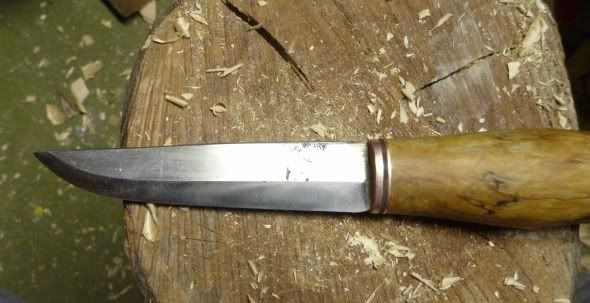
変更後・After
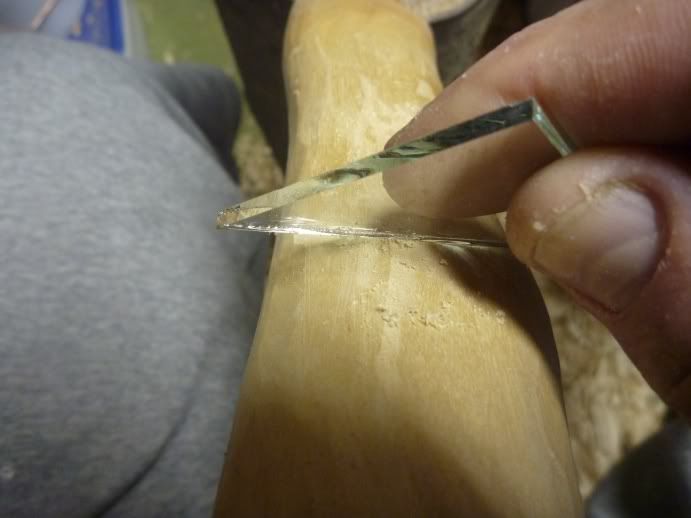
分かりますか?ドロップ気味だったポイントを、クリップ気味にしてみました。プロンヴァルシのプーッコがこんな感じでとても調子が良いので、真似です。
これでかなりプーッコらしくなりました。
Can you see the difference? Use to be like drop point, but changed to clip point;ish. The Puronvarsi Puukko was like this and works really well, so took the idea. Now, it looks more like puukko!
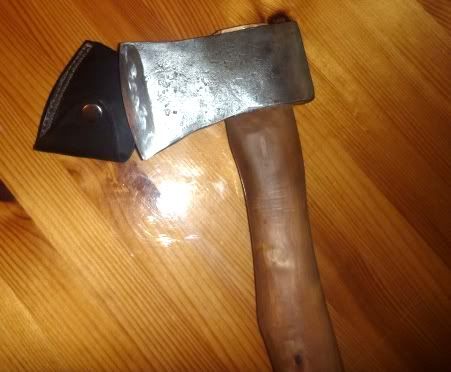
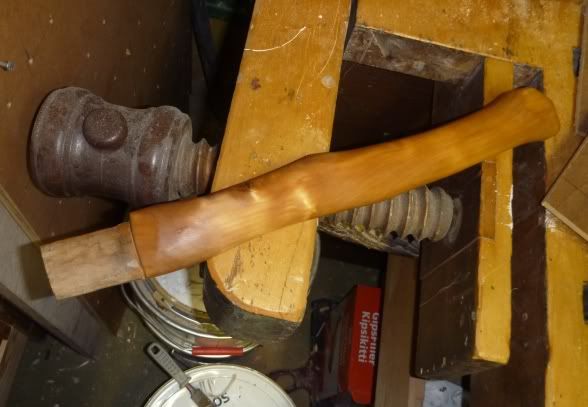
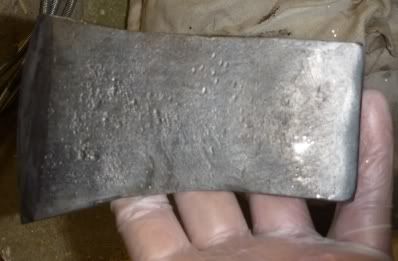
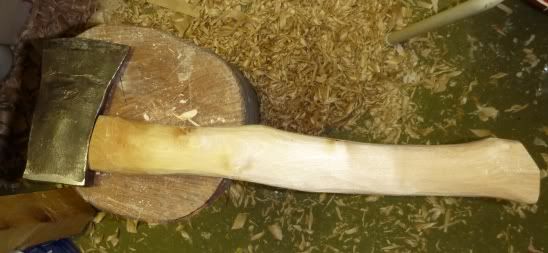
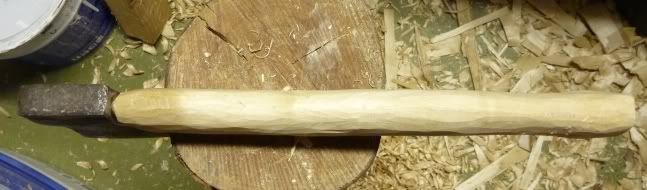
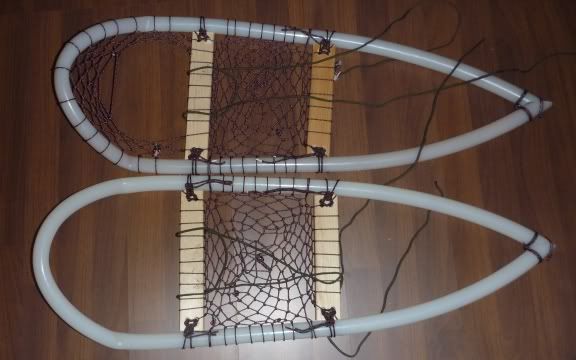
で、早速これを使って斧の柄を削りだしてみた。
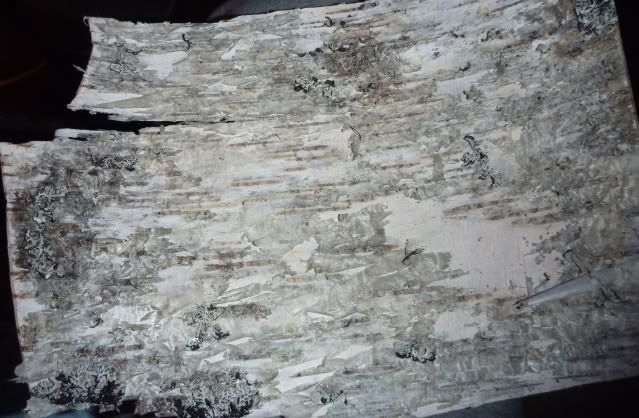
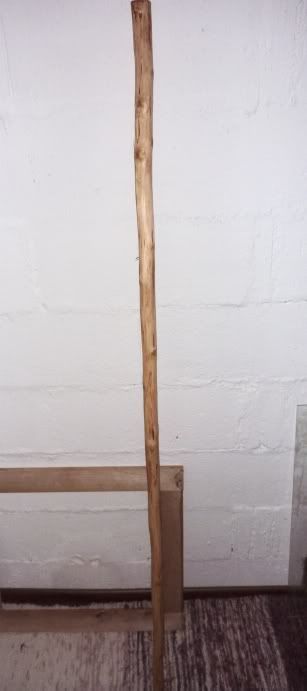
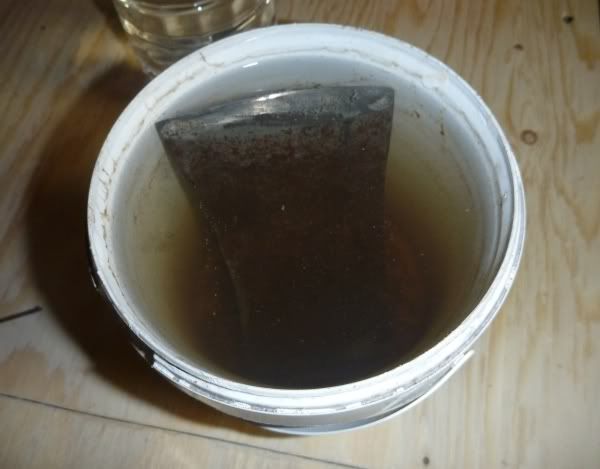
まずは白樺の丸太を適当な長さに切り、斧で荒削り。
So, I also started to make helve for my old axe head, using this knife.
First, take birch log, cut it in appropriate length, then rough-cut the shape with axe.
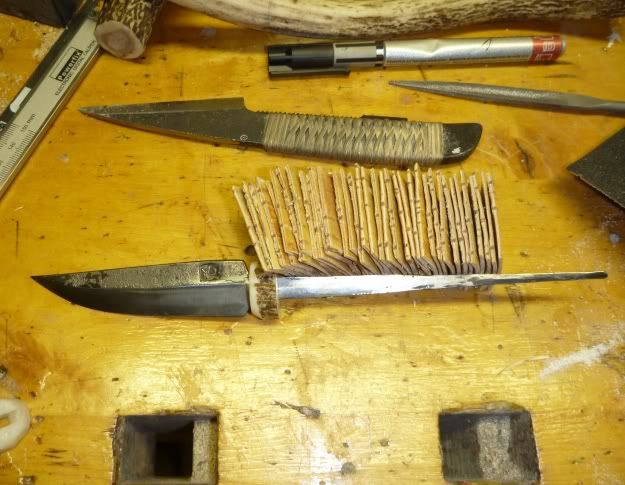
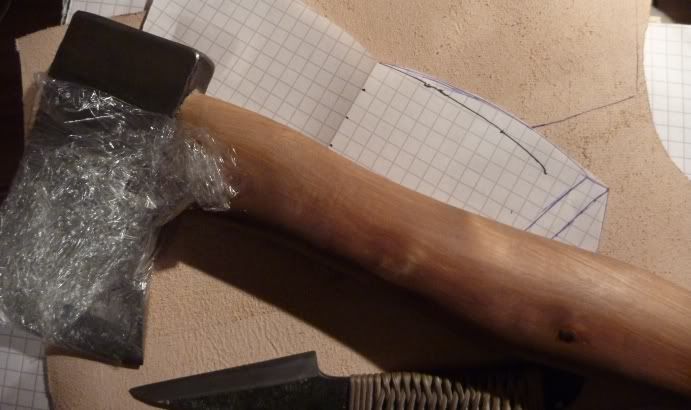
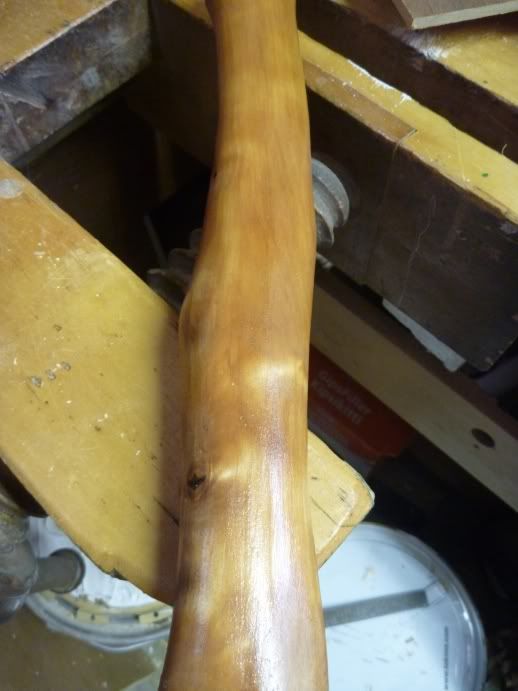
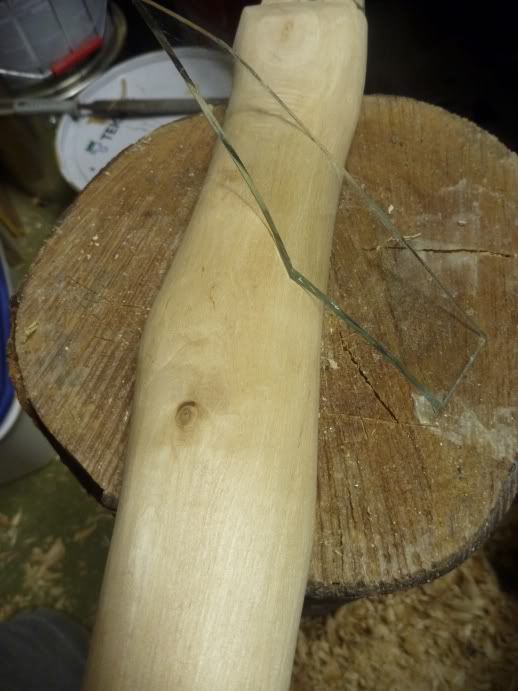
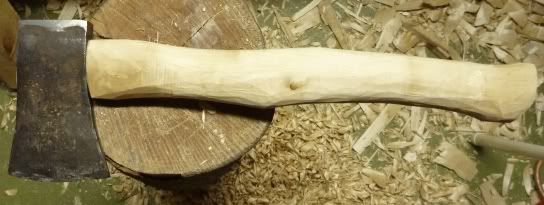
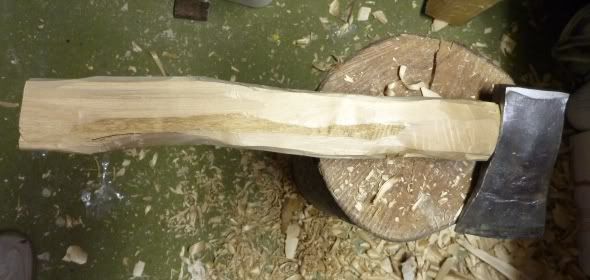
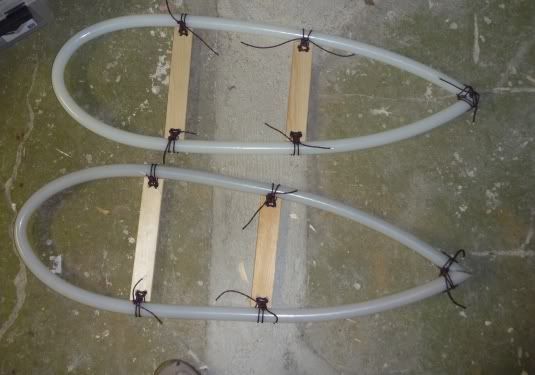
荒削りが終わったら、ナイフで櫃穴に入る部分を削り出す。削り始めてすぐに、クリップ気味にしたポイントの使いやすさが実感できる。やはり、『プーッコの形はこういう作業に向くのだな』と実感。モノのカタチは大事にするべきだ。長い時間をかけて出来上がってきた形なのだから。
Once the rough-cut is done, start to make the part, which goes in to eye. As soon as start working on this part with new modified puukko, I could feel the difference. It is much-much better now. “carving & whittling” This what puukko is good at and so the shape of puukko has been developed to be good at this. “The shape of things” you should respect!!
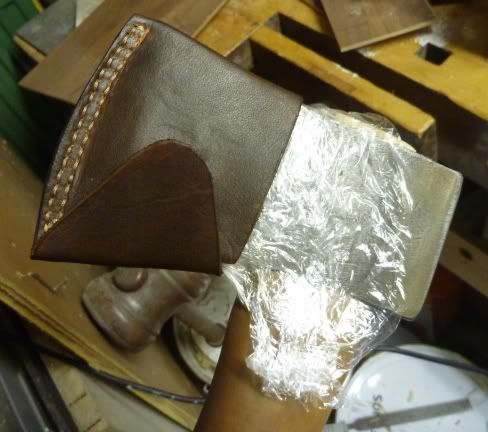
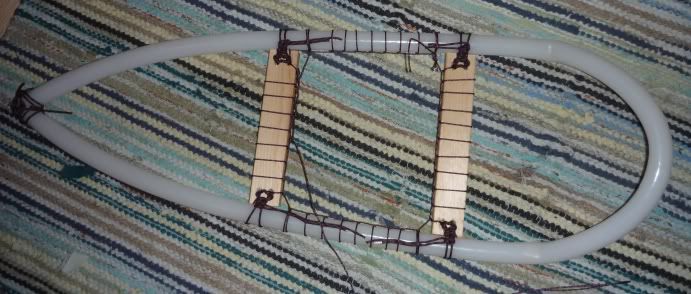
削っては合わせを繰り返し、やっと柄が収まるまでになった。もう少し深く入るように削ればここは完成。続きは明日!
Whittle bit – fit the head - whittle bit more… feel like endless repetition of this process and finally fitted this far. Still need to be little deeper, but that, will be continued tomorrow…